

Would you like to enhance your WordPress website with icon fonts?
Icon fonts won’t cause your website to load slower because they can be resized and load similarly to web fonts. To obtain the precise appearance you desire, you can even style them using CSS.
We’ll walk you through the process of adding icon fonts to your WordPress theme in this article.
Why Should You Use Icon Fonts and What Are They?
Symbols or tiny images are used in place of letters and numbers in icon fonts.

These icon fonts have a wide range of applications. You can use them, for instance, in WordPress navigation menus, feature boxes, download buttons, shopping carts, and giveaway contests.
In actuality, the admin area of WordPress makes use of font icons.
A frequently used icon’s meaning will usually be instantly apparent to visitors, making your site easier for them to navigate. Given that most people, regardless of language, can understand common icon fonts, they can also assist you in creating a multilingual website.
Font icons load substantially faster than image-based icons, which can improve WordPress performance.
Although there are other free open-source icon font sets available, we’ll be using Font Awesome in this tutorial because it’s the most widely used.
Now that we’ve covered that, let’s examine how to quickly add icon fonts to your WordPress theme. Just click on the quick links to go directly to the desired method.
Method 1: Using a WordPress Plugin to Add Icon Fonts (Easy)
Method 2 (More Customizable): Using Icon Fonts with SeedProd
Method 1: Using a WordPress Plugin to Add Icon Fonts (Easy)
Using Font Awesome is the simplest way to add icon fonts to WordPress. You can use icon fonts in your pages and posts with this plugin without changing the WordPress theme files. Every time you update the plugin, you’ll also automatically receive any new Font Awesome icons.
Installing and turning on the Font Awesome plugin is the first thing you should do. See our detailed instructions on installing a WordPress plugin for more information.
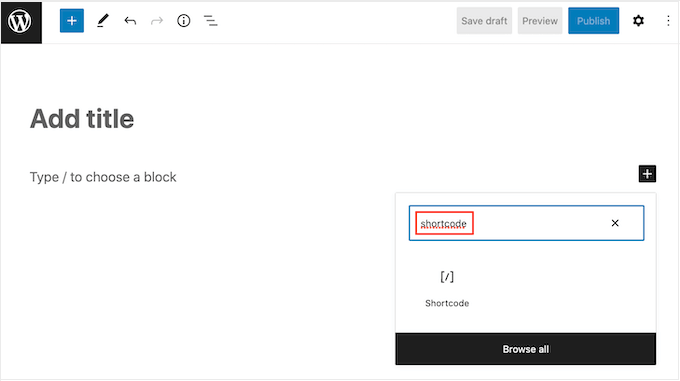
Any shortcode block can have a Font Awesome icon added to it once it has been activated. To display the icon font, just open the desired page or post and click the “+” icon.
Now that you’ve searched for “Shortcode,” you can pick the appropriate block when it shows up.
After that, use the following shortcode to add any Font Awesome icon:
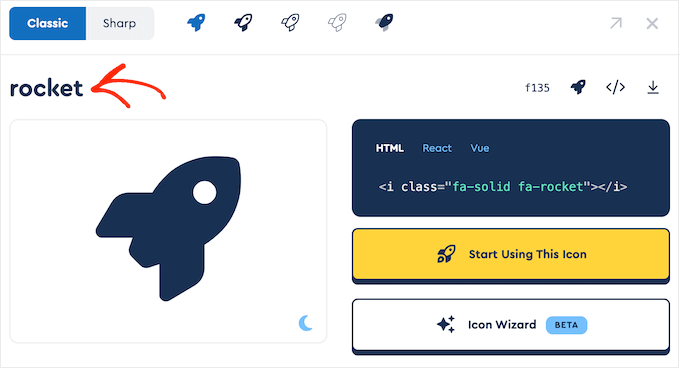
[icon name="rocket"]Just substitute the name of the icon you wish to display for “rocket.” Visit the Font Awesome website and select the icon you wish to use to obtain the name.

Click on the name of the icon in the popup that appears.
The name will now be automatically copied to your clipboard by Font Awesome.
After completing that, just copy and paste the name into the shortcode. Publish or Update can now be clicked to bring the icon font to life.
Occasionally, you might wish to display an icon font within a text block. For instance, you might have to put a “copyright” symbol after a company name.
Just paste the shortcode within any Paragraph block to accomplish this.

Then, just like with text block settings, you can alter the icon using the settings in the right-hand menu. For instance, WordPress allows you to modify the background color and font size.
WordPress will display the Font Awesome icon created by the shortcode next to your text.

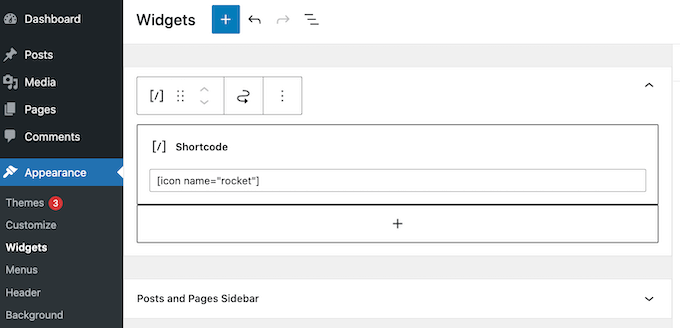
You can also add the shortcode to any area that is prepared for widgets.
For instance, you can include a Shortcode block in the sidebar or other comparable area of your website.
You can even create stunning feature boxes by including the icon shortcode in columns.

Icon fonts are widely used in menus on websites to aid in navigation for users. Use the WordPress dashboard to either create a new menu or open an existing one in order to add an icon.
Select “Screen Options” and check the box next to “CSS Classes” on the Appearance » Menus page.
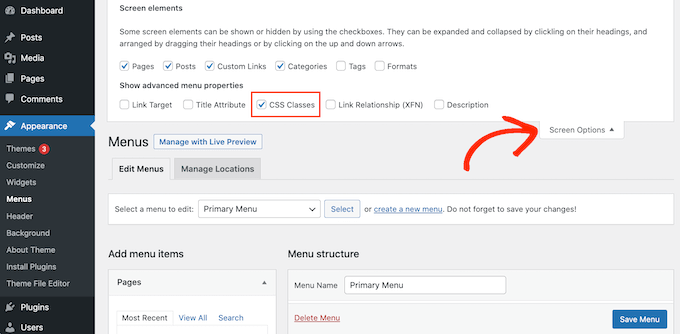
After that, all you have to do is click to make the menu item larger where you want the icon to appear.
There should now be a new field labeled “CSS Classes.”

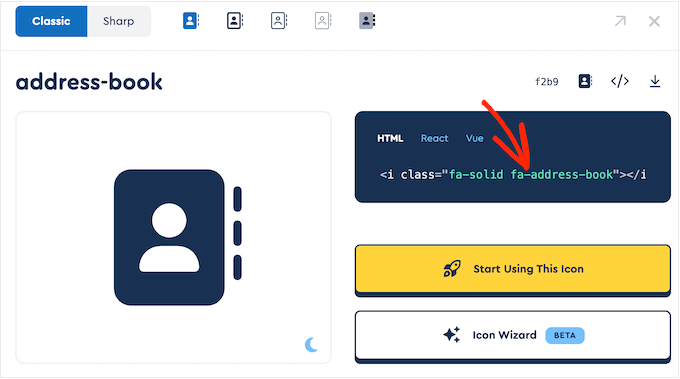
Just locate the icon font on the Font Awesome website and click it to obtain the icon’s CSS class. By selecting the various settings, you can alter the icon’s style if you so choose.
You will see a snippet of HTML code in the popup. The text enclosed in quotation marks is the CSS class. For instance, the CSS class in the image below is fa-solid fa-address-book.
Just select all of the text enclosed in quotes, then return to the WordPress dashboard.
The text is now ready to be pasted into the “CSS Classes” field.

You just need to follow the previously mentioned procedure to add more icon fonts.
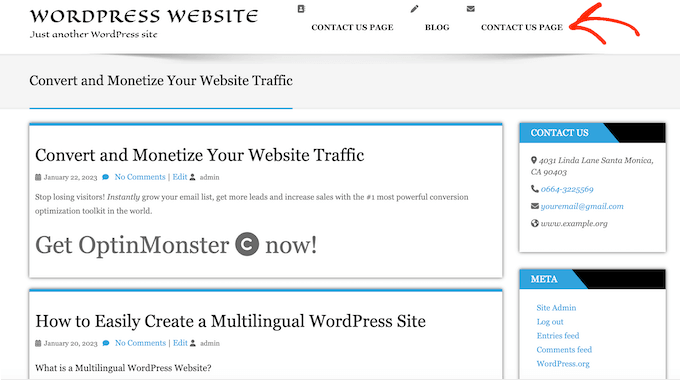
Once you’re satisfied with the configuration of the menu, select “Save.” Your WordPress website will now have an updated navigation menu when you visit it.
Method 2 (More Customizable): Using Icon Fonts with SeedProd
It is recommended that you use a page builder plugin if you want the flexibility to use font icons anywhere on your website.
With more than 1400 Font Awesome icons pre-installed, SeedProd is the greatest drag-and-drop WordPress page builder available. It also includes an icon block that is ready to use, which you can drag and drop onto any page.
It’s simple to make custom WordPress pages with SeedProd and display Font Awesome icons anywhere on those pages.
The plugin needs to be installed and activated first. See our beginner’s guide on WordPress plugin installation for further information.
Note: There is a free version of SeedProd, but we’ll be using the Pro version since it comes with the Icon block.
After activation, enter your license key in SeedProd » Settings.

This information is available on the SeedProd website under your account. Click the “Verify Key” button after entering the license key.
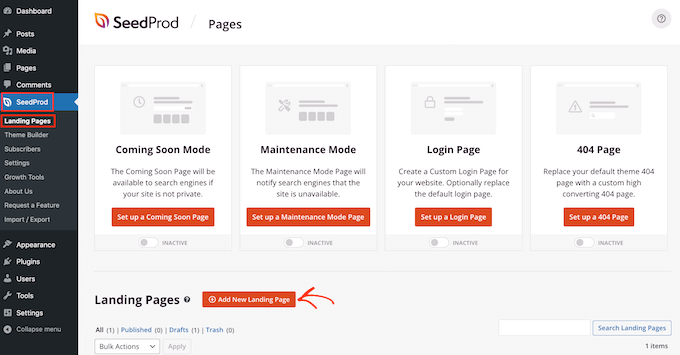
You then need to navigate to SeedProd » Pages and select the button labeled “Add New Landing Page.”
You can now select a template to serve as the foundation for your page. You can alter more than 180 expertly created themes on SeedProd to fit the requirements of your WordPress website or blog.
Hover your cursor over a template, then click the “Checkmark” icon to make your selection.
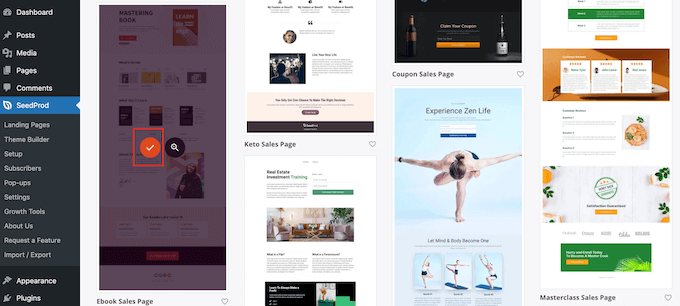
Since the “Ebook Sales Page” template is ideal for selling digital goods, we’ve used it in all of our photos. You are free to use any design, though.
Next, give the custom page a name by typing it in. Although SeedProd will automatically generate a URL based on the page title, you are free to modify this URL.
Click “Save and Start Editing the Page” once you’re satisfied with the data you’ve entered.

After that, you can edit the template using the SeedProd drag-and-drop page builder.
A live preview of your design appears on the right side of the SeedProd editor, while block settings are displayed on the left.
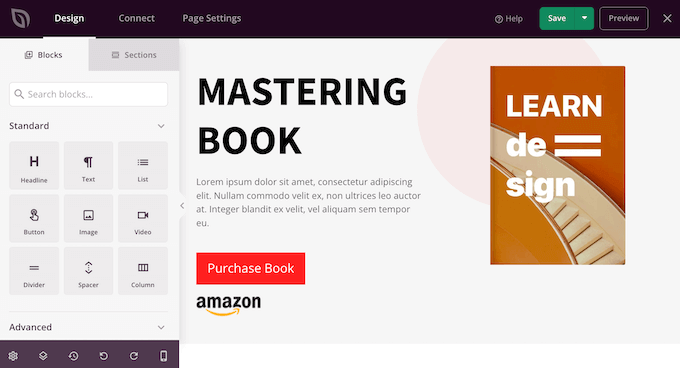
You can also drag and drop the blocks from the left-hand menu onto your design.
Standard blocks like buttons and images can be dropped into place, or you can use more complex blocks like the countdown, social media share buttons, contact form, and more.
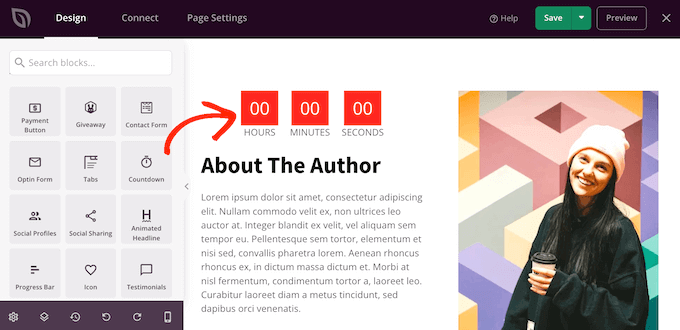
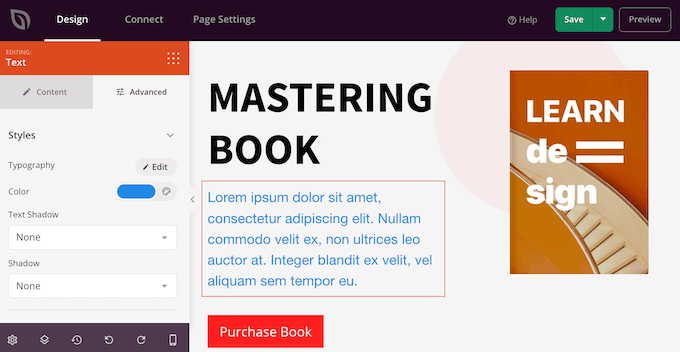
Click to select any block in your layout and make changes to it.
All the settings available to you for customizing that block will now be displayed in the left-hand menu. To better fit your brand, you can, for instance, frequently add background images, alter the color scheme, and adjust the fonts.
Just locate the “Icon” block in the left-hand column and drag it onto your layout to add an icon font to the page.
By default, SeedProd will display a “arrow” icon.
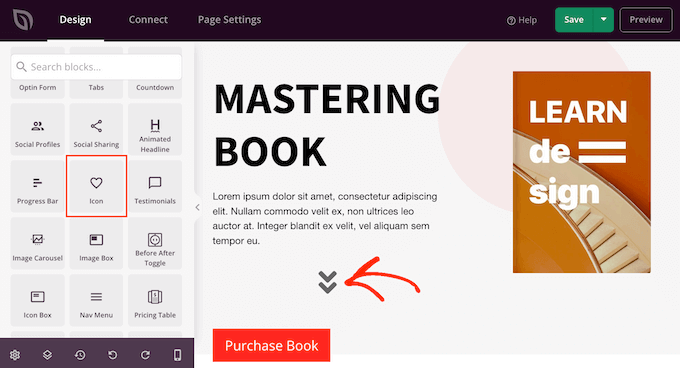
Click to select the Icon block to display an alternate Font Awesome icon.
Hover your cursor over the icon in the left-hand menu, and when the “Icon Library” button pops up, click on it.

Now, you can choose from a wide variety of Font Awesome icons.
Just locate the font icon you wish to use, then click on it.

The icon will now be added to your layout by SeedProd.
Once you’ve selected an icon, you can use the settings in the menu on the left to alter its alignment, color, and size.
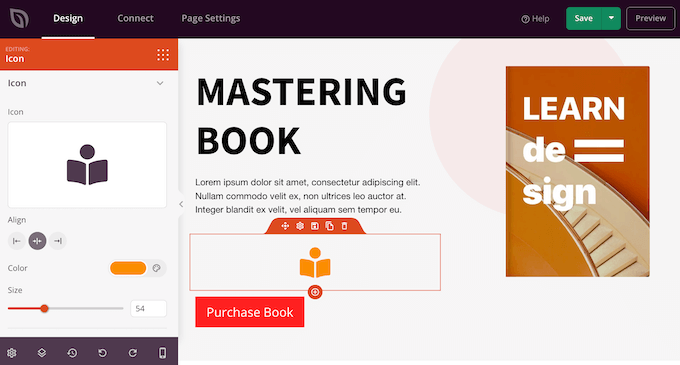
By entering text in the “Link” field on the menu’s left side, you can also add a link to the font icon.
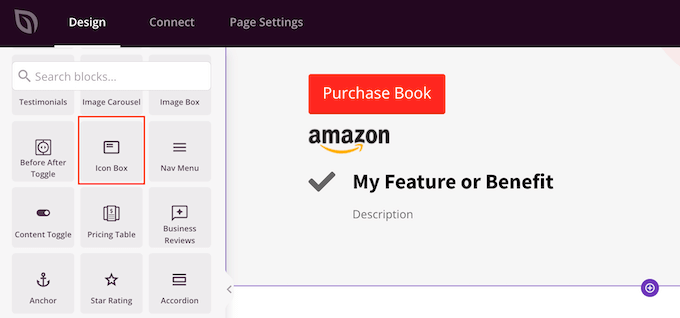
Using the pre-made Icon Box from SeedProd is an additional choice.
This is a great option for feature boxes because it lets you type text and then display a font icon next to it.

To add Icon Box to your layout, just locate it in the menu on the left and drag it there.
After that, you can click to pick the block and use the previously mentioned procedure to modify the icon.
The header and body text can then be typed in.
By choosing the “Advanced” tab, you can also alter the block’s text color, spacing, and add CSS animations, among other things.

By adding more blocks and customizing those blocks using the left-hand menu, you can carry on working on the page.
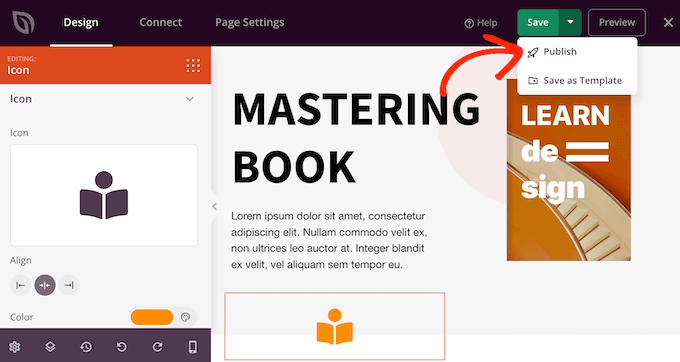
Once you’re satisfied with the page’s appearance, select “Save.” The page can then be made live by selecting “Publish.”
We hope that this post has given you more knowledge about adding icon fonts to your WordPress theme. You can also read our guides on selecting the best web design software and comparing the top popup plugins.