


Would you like to send your WordPress users’ welcome emails again?
A welcome email makes sure that people remember your website and business and helps establish trust with new users.
However, occasionally users may not receive your welcome emails or they may end up in their spam folder. For this reason, it’s crucial to send out welcome emails again.
We’ll demonstrate how to resend WordPress welcome emails to new users in this article.
Why Does WordPress Send New Users’ Welcome Emails Again?
One excellent method to personalize the emails that new users receive after registering on your website is to create welcome emails. Customers, members, and subscribers will find your website more memorable as a result, strengthening your brand.
Nevertheless, it’s possible that your users’ inboxes will not receive your welcome emails. Moreover, email services like Gmail have the ability to mark your emails as spam.
The improper configuration of the mail function by WordPress hosting providers is one of the causes of this problem. Your welcome emails either end up in the spam folder or don’t get through to your users.
You can use an SMTP (Simple Mail Transfer Protocol) service to get around this problem. It enables you to send WordPress emails via an SMTP server and guarantee that your users receive them.
You can easily resend emails by logging any that are delivered unsuccessfully with the help of an SMTP service.
Now, let’s examine how to log welcome emails in WordPress that were not received by new users.
WordPress Email Log Configuration Guide
The best SMTP service for WordPress is WP Mail SMTP. It integrates with numerous well-known email providers, including Gmail, Office 365, SendLayer, SMTP.com, and Brevo (formerly Sendinblue). It is also incredibly simple to use.
You can monitor email deliverability in WordPress using WP Mail SMTP. You can resend emails that haven’t been delivered because the plugin records every email sent from your website.
Installing and activating the WP Mail SMTP plugin on your website is the first step. Please refer to our instructions on installing a WordPress plugin for further information.
After activation, you can enter the license key by going to WP Mail SMTP » Settings in your WordPress dashboard.
The key is located in the area of your WordPress Mail SMTP account.
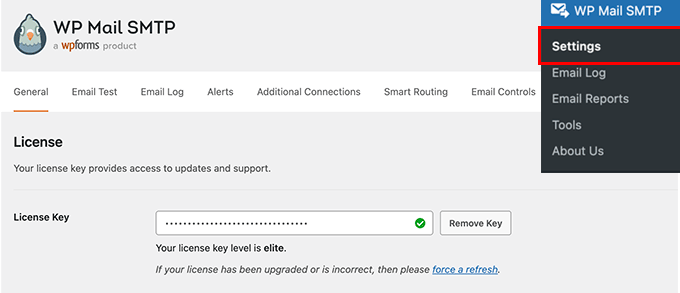
Click the “Verify Key” button after entering the license key.
After that, you can select how you want to send WordPress emails by scrolling down to the Mailer section.
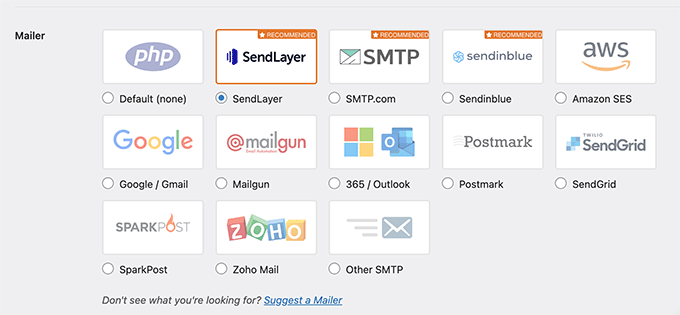
Just choose the mailer that you want to use. By default, the PHP mail will be chosen; however, because this method is unreliable, we do not advise using it.
Next, you must check the box next to “Enable Log” in the WP Mail SMTP settings under the Email Log tab.
In this manner, WordPress will allow you to monitor email deliverability.
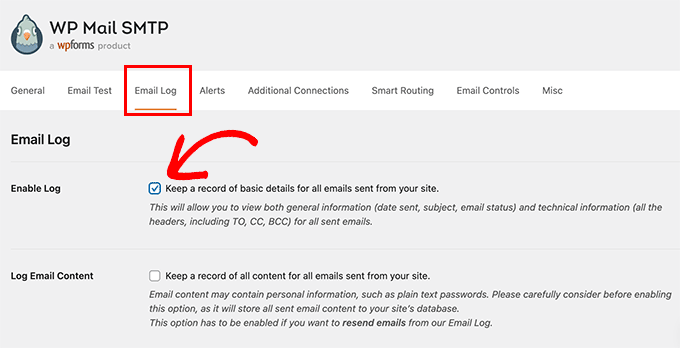
The Email Log tab will display additional email tracking settings once you enable the option.
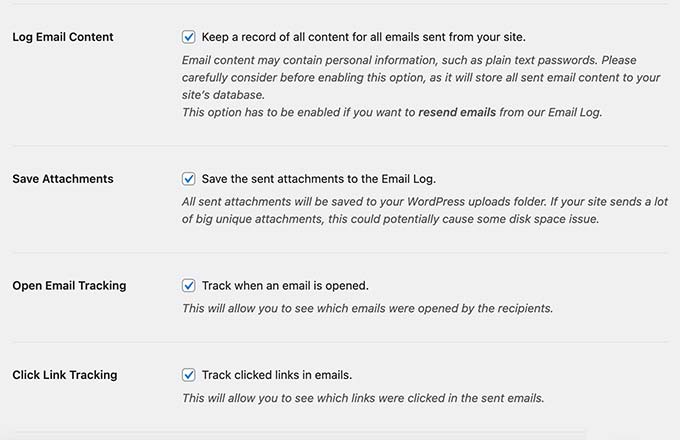
To obtain additional information regarding email deliverability, check the boxes for Log Email Content, Save Attachments, Open Email Tracking, and Click Link Tracking.
You can then choose how long to keep the email logs.
All you have to do is select an option for the “Log Retention Period” dropdown menu and click “Save Settings.”

How to Send Welcome Emails to New Users Again
You can now see which welcome emails were unsuccessful in reaching your users and which ones require resending after configuring email logs.
To get started, just go to your WordPress admin area and navigate to WP Mail SMTP » Email Log.
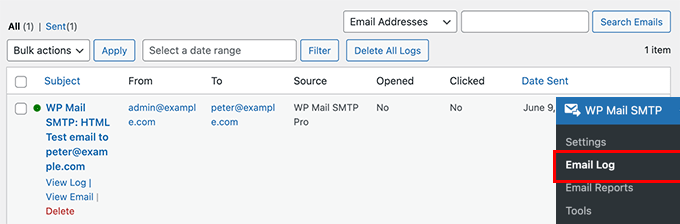
This section will display all of your emails thanks to the plugin. The email subject, recipient, sender, and whether or not users clicked and opened the message are all visible.
Any email that has a red dot next to it indicates that it was not delivered. However, a green dot indicates that the email has arrived in the user’s inbox.
Click the ‘View Log’ option if you would like to resend a welcome email that was not delivered.
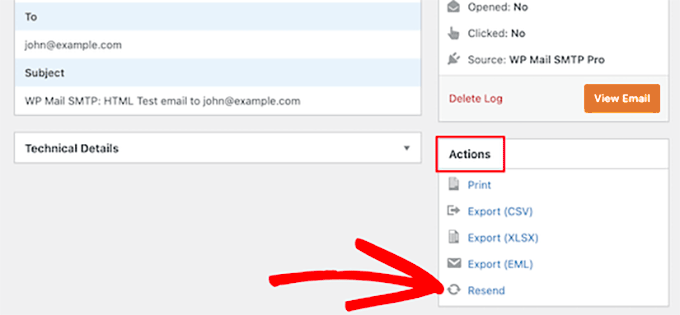
You will now see the specific email’s logs.
Next, select the “Actions” tab and press the “Resend” button.
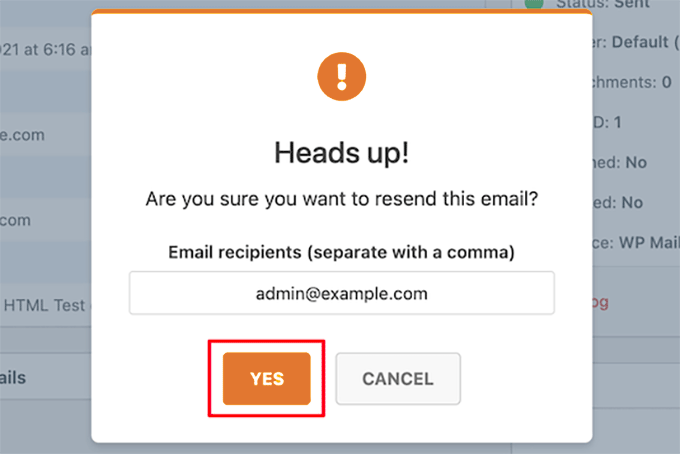
A popup window will now appear.
Simply enter the recipient’s email address and click the ‘Yes’ button to resend the email.
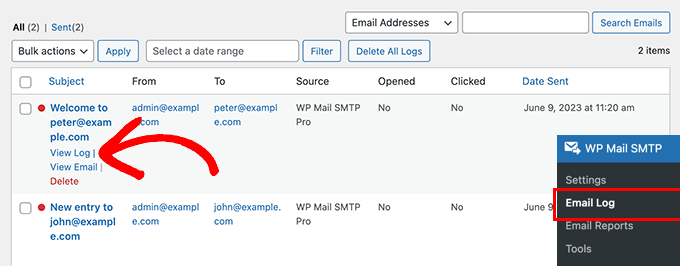
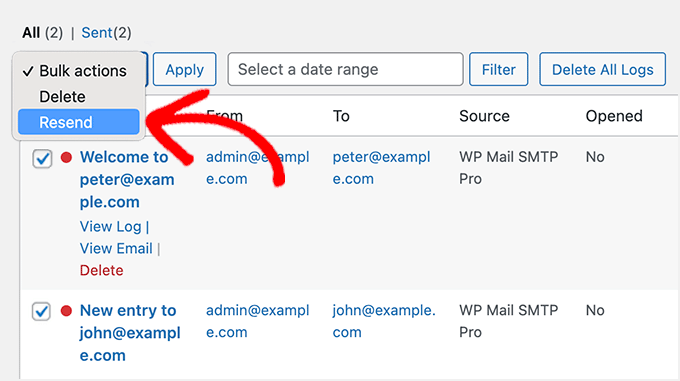
Next, you can use the bulk resend feature from the email log screen if you notice that several of your emails were unsuccessful in being delivered.
Select the checkboxes for the emails you wish to send again. Next, choose the Bulk Actions dropdown menu’s “Resend” option.
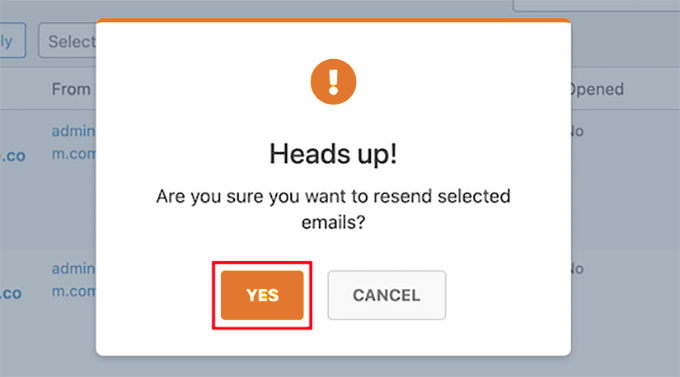
You can choose to resend multiple emails by clicking the “Yes” button when a popup window appears.
And that’s it! Welcome emails and any other emails that are not received by your new users will be resent by WordPress Mail SMTP.
We hope this post was helpful in teaching you how to use WordPress to send welcome emails to new users again. You might also want to look through our recommendations for the top WooCommerce plugins and our guide on how to select the best website builder.